
Lately, I’ve received a lot of questions from readers about how I store all of my holiday decor. Although I probably have more than most (due to my profession as a holiday designer), I’m going to share some of my storage tricks with you and provide you with some ways to modify it to a more modest collection.
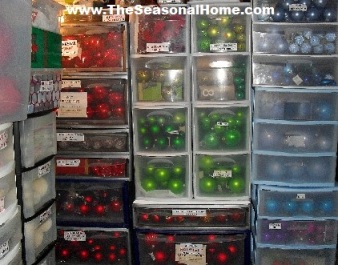
My holiday decor is kept in an on-site storage area that’s only 120 square feet. I can work easily in such a small area because everything is organized by color, holiday theme or “type” of decoration and kept in drawer units, a few tubs or plastic-wrapped to take advantage of vertical storage space.
My favorite storage tools are: storage carts, plastic shelving and plastic wrap.
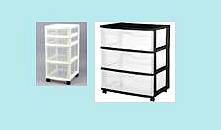
Multi-drawer Storage Carts come in all heights, widths, depths and some even have varied drawer sizes. The varied drawer sizes are useful because you can place small things in the narrow drawers (like icicles, snowflakes, ribbon, ornament hooks, etc.) and larger things in the wider/deeper drawers (like ornaments, tree skirts, tree toppers, etc.) Typically, these drawer units come with 4 caster wheels, which makes them easy to roll into the house and around the room you’re decorating. When you remove the wheels, they are easy to stack to create more vertical storage, which is how I use them to separate my ornaments by color and my decorations by theme. I also LOVE the fact that I can easily grab a single drawer of what I want rather than waste time and energy digging through a container full of everything.
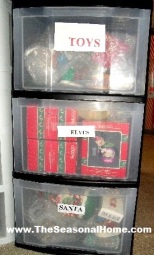
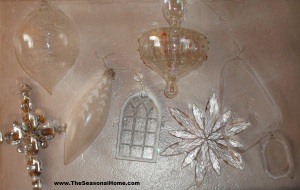 If I happen to have a lot of “different” decorations in a drawer together (because they are the same color), I take a photo featuring 1 of each decoration and tape that to the outside, for a quick visual reference when I’m designing.
I even use the space on top of my stacked drawer units for storing larger items as well as my collection of tabletop trees, keeping them dust-free by loosely placing dry cleaner bags over them: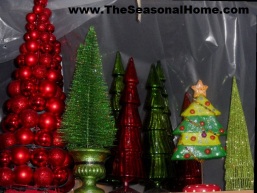
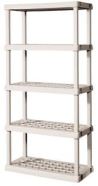
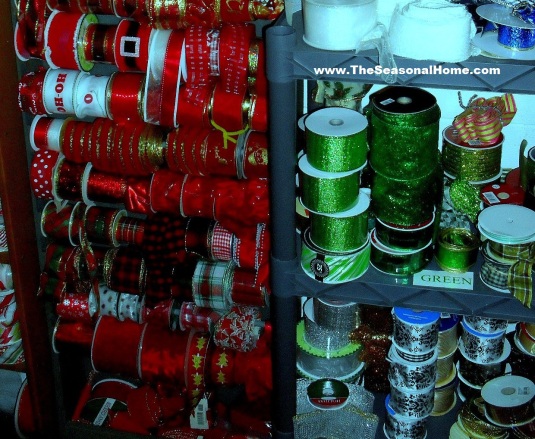
My ribbon collection is quite voluminous because I purchase it on clearance whenever I find a good deal. I purchase several rolls (at least 30 yards) so I can decorate mine or a client’s tree, wreath and garland (minimum) to coordinate. Many people keep larger ribbon collections in plastic tubs or bags, but that can become a quick mess if you don’t secure the end of an open roll of ribbon. I keep my rolls of ribbon on wooden dowels or on an inexpensive plastic shelving unit, by color:
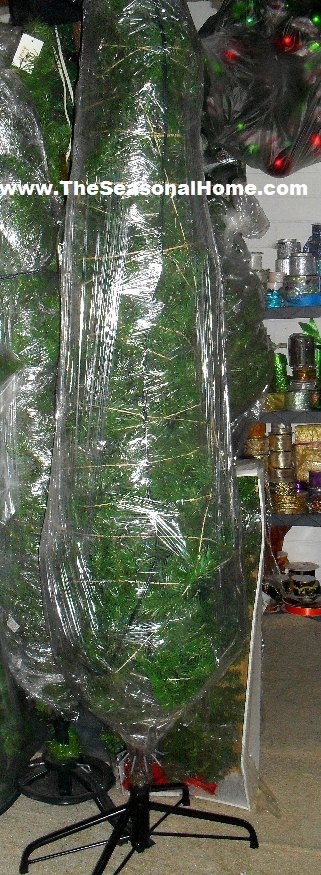
Artificial trees and wreaths can sometimes take up a ton of horizontal space, especially if you try to stuff them back into the boxes they came in. So, I wrap them both in plastic wrap to store them vertically and keep them dust-free. Also, by the time I’m ready to wrap things up for storage, those cinnamon-scented pine cones are on clearance at the craft and mart stores, so I purchase a bag and tuck a few in between the greenery for a wonderful, scented surprise the next time I unwrap my holiday greenery.
To wrap an artificial tree, I gather my scented pine cones, a roll of inexpensive twine, a small roll of packing tape and I remove the roll of plastic wrap from it’s box/container. If your tree is not hinged, however, this method will not work. But if it is… begin by flattening each row of branches. Knot one end of your roll of twine onto a piece of greenery, near the top of the tree. Then, starting at the top, lift up an entire row of the flattened branches and secure it in place vertically by wrapping the twine around it, pulling it tight. While holding the twine tightly, lift up the next row of flattened branches and wrap the twine around that row, pulling it tight. Repeat this process down the entire tree and I have to admit that it’s easier if you have a helper. 😉 Once all of the branches are vertical and wrapped tightly in twine, tuck in a few scented pine cones and wrap the tree in plastic wrap… horizontally and vertically. HINT: I push a piece of greenery (at either end of the tree) through a hole I create in one end of the plastic wrap before I begin wrapping, to hold it in place. When the tree is wrapped entirely in plastic wrap, secure the remaining loose end with a piece of packing tape. Below is how it will look when you’re done and as you can see, using this method keeps their footprint small and makes it easy to nestle several trees very close together:
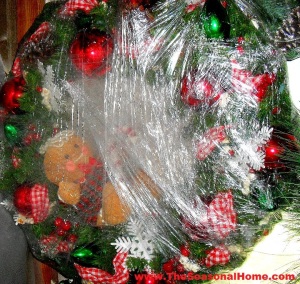
If you want to wrap up your wreath (keeping it decorated) lightly push the outside wreath branches upward, tuck in your scented pine cones, attach one end of the plastic wrap to one branch and begin wrapping around the entire circumference (under and over) until its completely encased in plastic wrap. I hang my wreaths (decorated or not) on a nail in the wall above my storage drawer units, but if you have a free space on the back of a garage door, use a wreath hanger to store it there. Also, you can use additional wreath hangers (attached to the bottom of the top wreath) to hang a 2nd or 3rd wreath below the first one.
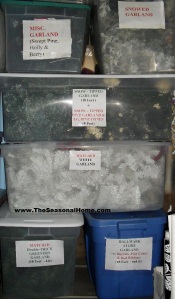
 Wrapping garland is a little hard, so that’s one of my holiday items I place in large containers and add scented pine cones to. As you can see, I also note important details and tape those notes to the outside of the container:
I hope sharing these tricks helps you with your holiday decor storage issues. If you have any questions or need suggestions, please feel free to contact me! 🙂


