[CLICK ON ANY PHOTO to view it larger]
Still scratching your head for gift ideas? Well, since we have finally reached the 12 days of Christmas, here’s some budget-friendly suggestions that I hope will help. Each one is $10 or less and some of them even make terrific stocking stuffers!

For the Reader, Crafter or Hobbyist – a magazine on their favorite topic (there are TONS of new ones out there!) Simply wrap it around their favorite sipping beverage and tie it closed with a length of ribbon, tied in a bow!

For those who have to spend a lot of time in their car –
a Digital Tire Gauge is not only easier to use, but a great reminder to keep their tires inflated, for safety and better gas mileage,
-OR-
a Personalized Car (removable) Decal for their car window.
Consider their Monogram:

Tons of these on ETSY
Family Members:
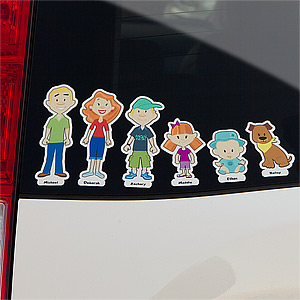
Click on photo for website
Or Fill in the Blank to create a Customized Decal:
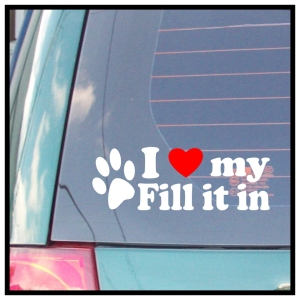
Click on photo for website
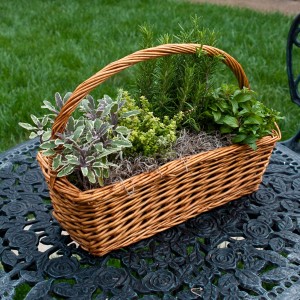
For the Gardener – a basket of herbs. Recycle one of your own baskets & tuck in 3 easy-to-grow, popular herbs. My favs are Rosemary (Roasting small potatoes in fresh garlic, rosemary and olive oil is SOOO DELISH!), Cilantro & Parsley
For the Cosmetic-aholic – I know the store of “choice” these days is ULTA, however… I have found a new, inexpensive brand of make-up in Target, called “ELF” (LOL- this brand sounds as if it might have been made just for me, but actually, it stands for “Eyes, Lips, Face”). It’s incredibly inexpensive and everything I’ve purchased works just as well, if not better, than the expensive brands! Some facts I learned about them… they are: 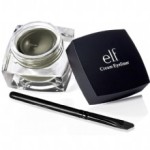
- High quality
- Hypoallergenic and non-comodogenic and their ingredients are listed, for each product
- NOT tested on animals nor do they endorse such practices
- NOT derived nor do they contain animal ingredients
- Supportive of HSUS and are partners with PETA in the Caring Consumer Project
My favorite is the creme eyeliner and it comes in 11 colors, glides on like butter and stays in place without cracking or smudging. Best of all… it’s only $3! Here’s their website for more product review: http://www.eyeslipsface.com.
 And if you’d like to introduce someone to more natural products, consider a bar of natural soap, or make it yourself. Once you’ve tried natural soaps, you’ll never go back!
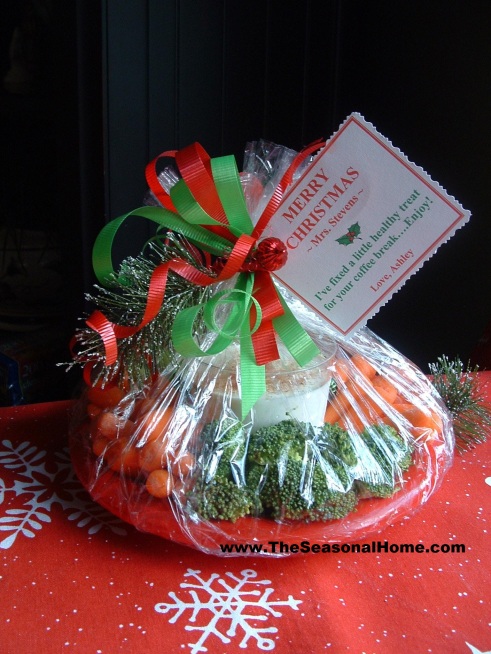
For the Snacker, 2 suggestions (and P.S. – making several of these, at once, is a great gift idea for co-workers, neighbors, teachers, salon employees, etc.) –
Mini trays of either veggies & dip OR fruit & dip OR both! Who wouldn’t enjoy receiving a healthy snack they didn’t have to make themselves? And if you choose to give the fruit, don’t forget to try my family’s heirloom Fruit Cream Dip (the “How To” is located under the RECIPE tab on my website). Party stores have small (condiment-size), lidded plastic containers or ask your local restaurant if you can have or purchase some of these to use with the dip so it won’t spill on the way.
If you would prefer to satisfy their sweet tooth, try your hand at making these easy cocoa dippers. Purchase mugs (Dollar Tree), small box of regular-size candy canes
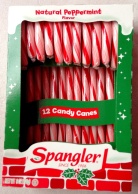

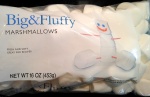

regular-size marshmallows, a bag of semi-sweet chocolate morsels and a bag of Andes Peppermint Crunch Baking Chips.
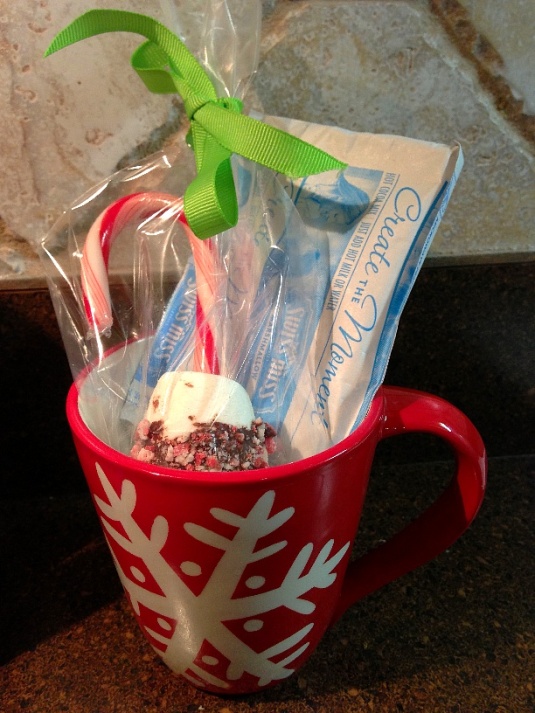
Break off a section of the tail-end of a candy cane (so the remainder can hang freely from the lip of the mugs, with apx. 1-1/2″ to spare, to allow room for the marshmallow). see photo on right for approximate length
Push the broken end end of the candy cane into a marshmallow. Melt the mini chocolate morsels and roll one end of the marshmallow in it.


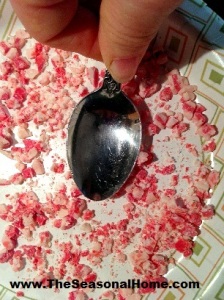
Crush some of the Peppermint Crunch Baking Chips (with the back of a spoon). After dipping the marshmallow in the chocolate, immediately roll the chocolate end of the marshmallow in the semi-crushed chips.

Allow to dry/harden and you will now have the most wonderful treat, when used as a hot cocoa dipper! Place 1 or 2 in a plastic baggie, use ribbon to tie it closed and tuck it into a mug with a packet of hot cocoa mix. Wrap it up or give it just like that!
For the Cook –
the 25th Anniversary issue of COOKING LIGHT just came out, with all of their best recipes, in magazine form so that really keeps the cost down!
Upgrade or replace one of their older cooking utensils, i.e. an ergonomic potato peeler or a sturdy, bamboo wooden spoon or spatula, etc. Or, introduce them to a new kitchen tool on the market, l ike a funnier dishwasher alert magnet or unique drink “ice mold”
 like the shark fin one pictured here. LOL
Target
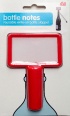
For the wine connoisseur – Bottle Notes! This new tool doubles as a bottle stopper and note board (write dates or how the wine tasted to you on this mini dry erase board)
For the Entertainer –
Handmade set of Coasters (I love this idea I found on a website called Crafting Green World.com) and I included the link for details & directions:
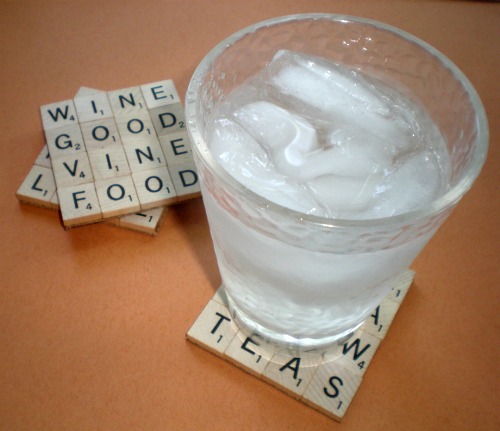
Click on photo to visit site
For the Organizer – 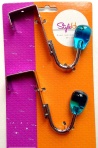
Who couldn’t use a little extra hanging space, but not all of us are handy. Solution: look at how beautifully dressy “over-the-door” hangers have become!
 For the Grill Master –
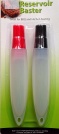
2-Pack of Basters with reservoirs
Click on photo for link
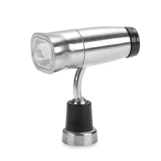
Magnetic, battery-operated, LED Grill Light (found this one at Bed,Bath & Beyond for $8.99).
Or, an Apron with pockets for tools AND slots for drinks! (disclaimer: okay, I found this on the internet for $13.90 so it’s a little pricier, but provided they don’t fall over -with the weight- what a funny gift!)

For the Designer – a decorative tile featuring their home to display on a stand…. turning it into a design feature! This is totally do-able if you are artistic. If not, you can always take a photo of their house and transfer it to the tile (here’s a link for directions I found on whatIlivefor.com: http://www.whatilivefor.net/2010/06/mod-podge-photo-transfers.html).

HELPFUL HINTS: 1)If you don’t have a laser printer, most copy shops do, and 2) be sure to find out the “Year” they moved in so you can hand paint “Established _____” somewhere on the tile also.
 For (my favorite) the Sentimentalist –
This requires a little detective work, accomplished by having some 1-on-1 time with the gift recipient so you can (covertly) ask questions & garner “CLUES”about their youth, i.e. favorite hobby, toy, an old skill they have that you didn’t know anything about, etc. Doing this will give you an idea about something sentimental that you can help them revisit, via a gift. For example, I just found out (during one of those 1-on-1 times) that a BFF used to be a majorette. So, I headed to the toy store and brought a $7.99 hot pink baton, which I plan to wrap & give to her as a sentimental LOL. She’s going to LOVE it!! And you better believe that I plan to ask for a demonstration of her whirling & twirling skills of old… I can’t wait! 🙂
MERRY CHRISTMAS and…
Enjoy the Creativity!
EILEEN
P.S. Next week’s blog post... a Yummy SNOWFLAKE BREAKFAST!